Holiday Home Tour

DSCN5326 DSCN5327 DSCN5328 DSCN5329 DSCN5330 DSCN5332 DSCN5334 DSCN5336 DSCN5338 DSCN5339 DSCN5341 DSCN5342 DSCN5343 DSCN5344 DSCN5346 DSCN5352 DSCN5355 DSCN5356 DSCN5361 DSCN5365 DSCN5368 DSCN5371 DSCN5373 DSCN5375

I’m a little late with the Holiday post here.  Does anyone else feel that the Holidays snuck up on us with Thanksgiving being so late this year?!

For decorating this year I wanted to keep things simple and inexpensive.  I did this by taking the extra tree trimmings from Home Depot for FREE when I got my tree.  I used pinecones that I have collected through the fall and dollar store snow flake ornaments.   Burlap and old book pages were also key in my vintage holiday decorating!

Hope you are enjoying the Holidays as well with your family and friends xo

Hocus Pocus – How to Decorate For Halloween For Under 20 Dollars

Halloween.  My absolute FAVORITE time of year and favorite Holiday (Thanksgiving is a close second).  I think the reason why I love Halloween so much is my sad, sick obsession with my favorite movie ever – HOCUS POCUS.  Every time the movie is on TV, I get about 4 different text messages from people letting me know it is on.  Some people that I haven’t talked to in years, ex-boyfriends, best friends, co-workers, I without a doubt every time get a text.  It’s sad, of this I am aware.  Why do I love this movie so much? I couldn’t tell you, but I do…so that’s that.

This year I wanted to focus my decorating around my love for witches and Hocus Pocus while still keeping the vintage feel to my living room.  Below are a few pictures of my Vintage Witch Halloween décor.  Since I am a strict budget this year (living on your own ain’t cheap)  I had to make a lot of my decorations.  A lot of the stuff I used was old glass bottles, old books and book pages, candles and dollar store finds.  The only thing I did purchase was some ribbon and a lot of the stuff I had from previous years of Halloween’s past.

I will post some tutorials on how I made some of the decorations this week.

IMG_7890 IMG_7892 IMG_7893 IMG_7894 IMG_7895 IMG_7896 IMG_7898 IMG_7899 IMG_7900 IMG_7901 IMG_7902 IMG_7903 IMG_7905 IMG_7907 IMG_7910 IMG_7911 IMG_7912 IMG_7913 IMG_7915

IMG_7917 IMG_7918 IMG_7919 IMG_7920 IMG_7922 IMG_7924 IMG_7925 IMG_7926IMG_7869

The last picture is my favorite 🙂

Stay Fancy

-Jess

Laundry Room Sign

I hope everyone is having a great weekend!  It has been a gorgeous weekend here in Connecticut, I am currently sitting with all the windows open, a coffee and waiting to meet my friends for the Toby Keith concert tonight!

Yesterday my mom and I took advantage of tax free week here.  I did some serious damage shopping for my upcoming Mexico trip, as well as some pretty awesome fall clothes, but perhaps my best find came from Homegoods.  I saw this sign for $12.99 and knew it would be a perfect fit for my laundry room.

The clothes pins fit in with my laundry room and since the room is right off of my kitchen, the chalkboard fit in with the theme of that.

When I got it home I knew it would be perfect to hang missing socks that some how got lost in the laundry until the mate showed up.  I then couldn’t help but write “Clean, single and looking for a mate” on the chalkboard part.  Oh the irony of my own life. hahaImageImage

Preview Of My Shabby Chic Beginning

Well, I have officially moved in to my new place.  It’s crazy how you don’t realize how much stuff you have until you move. Mine mostly consisting of clothes, clothes, more clothes, shoes and a TON of tag sale/flea market junk.  A HUGE thank you to my family and friends for putting up carrying my junk and for the help with painting.  I owe you all xo

I still have a LONG way to go in terms of decorating, but here are a few sneak preview shots of my romantic not-so French country cottage.  It’s more like a condo close to i95 and the Post Road, but hey, a girl can dream.

Necklace Roses Clock

pallet

I can’t wait to share the finished rooms with you!

Stay Fancy!

Jess

Merry and Bright

Christmas season is here again and this is the first official year that I am able to decorate my own place. However, after purchasing a new car a few months ago, buying all new decorations for our new place just wasn’t in the budget this year.

I get a lot of my inspiration for home decor from Pottery Barn. Their Pottery Barn Holiday Pinterest Page is out of control AWESOME. Just by looking through I was able to imagine what I wanted my home to look like on my type of budget.

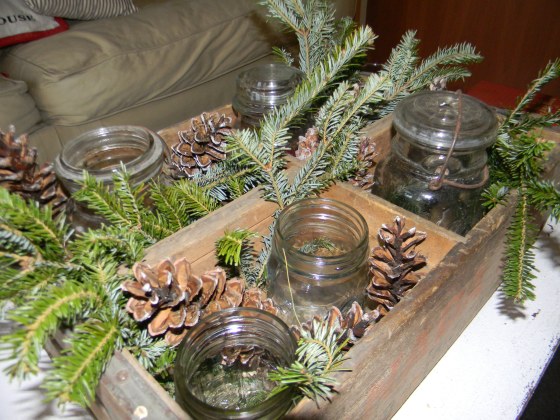
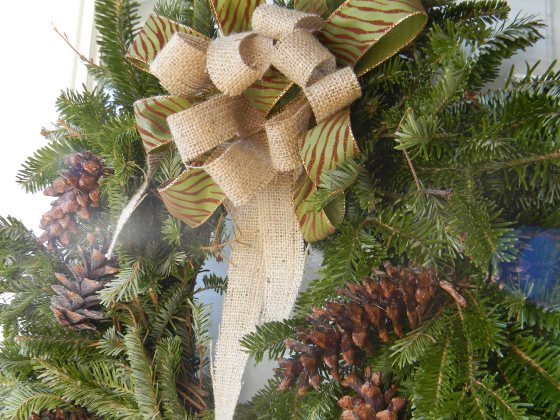
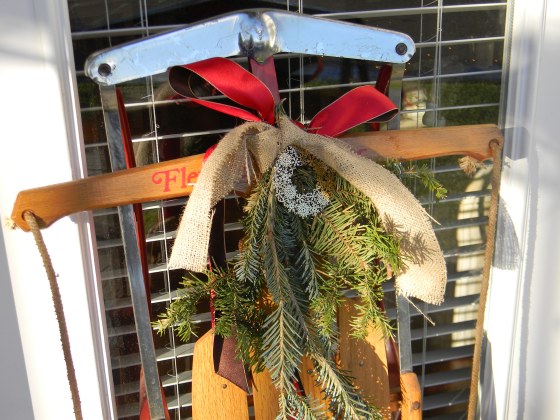
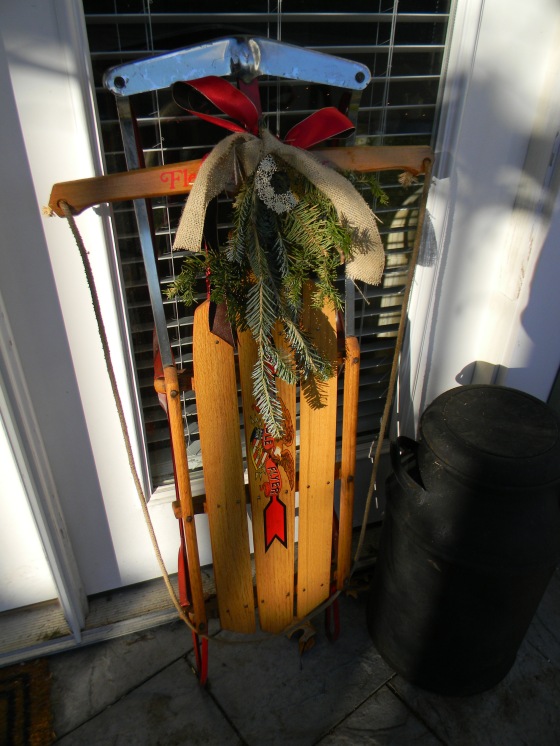
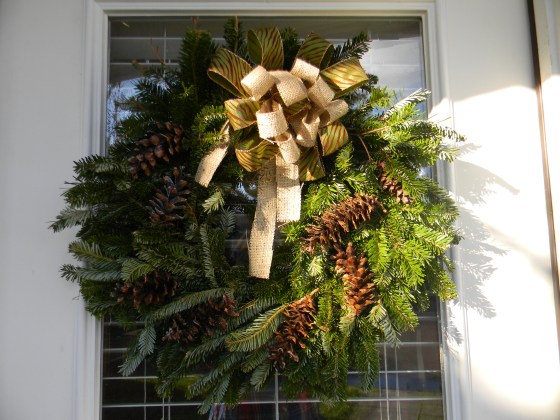
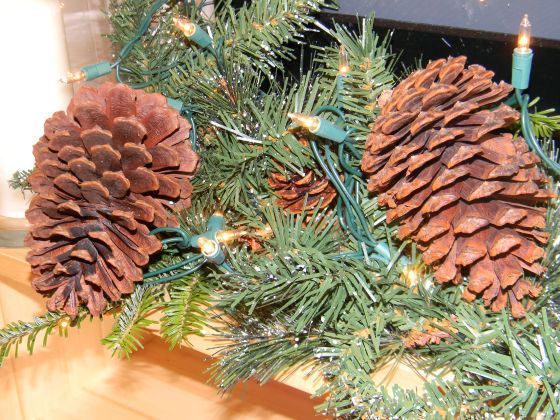
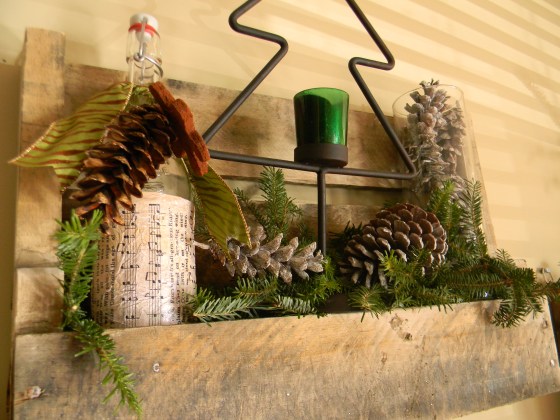
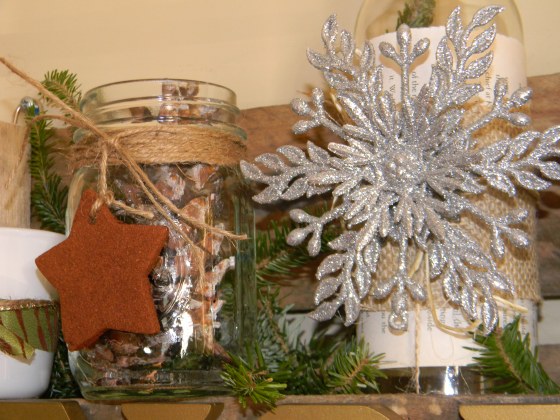
The majority of items I used was pine cones and tree trims – BOTH FREE. As I mentioned in a previous post, you can get all the tree trim for free when you cut down your tree or at any place that sells fresh trees. Just bring a bag and go crazy.

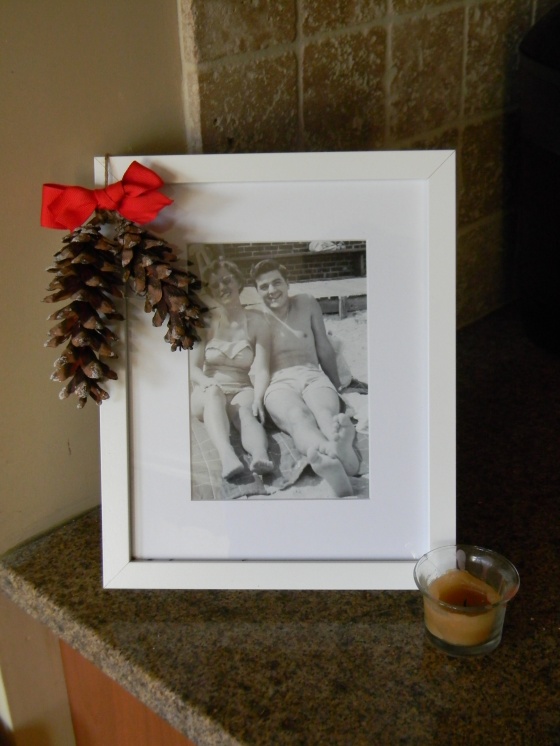
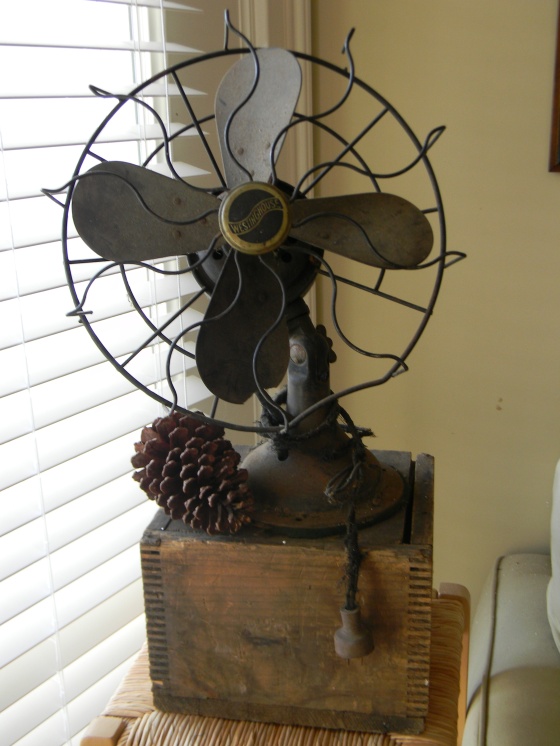
The pine cones I have collected throughout the year. I actually got mine while I was babysitting for a family I used to babysit for in college one weekend. I made the boys play a game “Who ever picks up the most pine cones in 30 seconds and puts them in this bad wins!” – Thanks guys, I’m good 🙂 I sprayed them with snow spray to give them the wintery look.

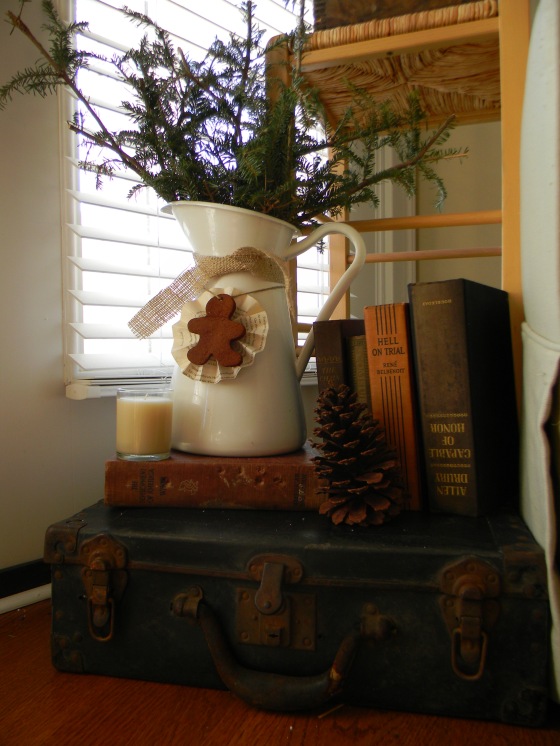
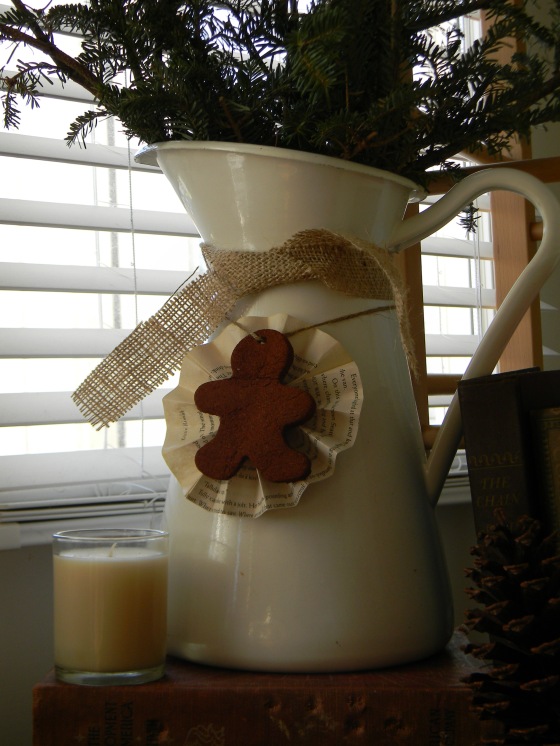
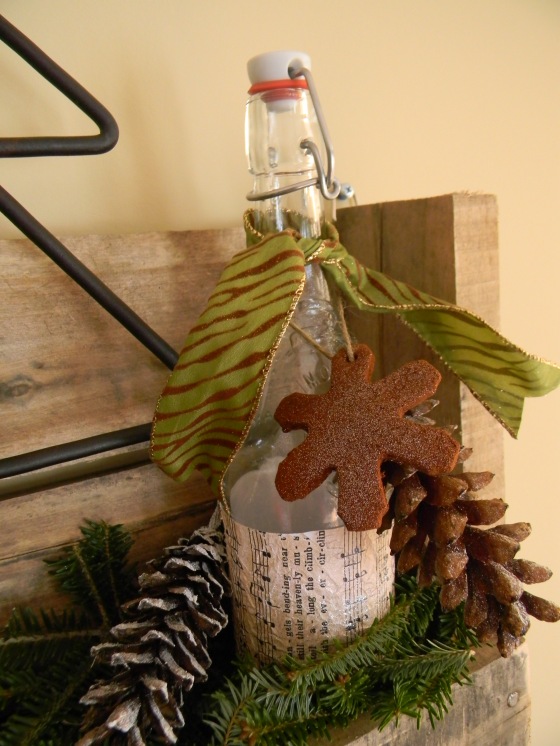
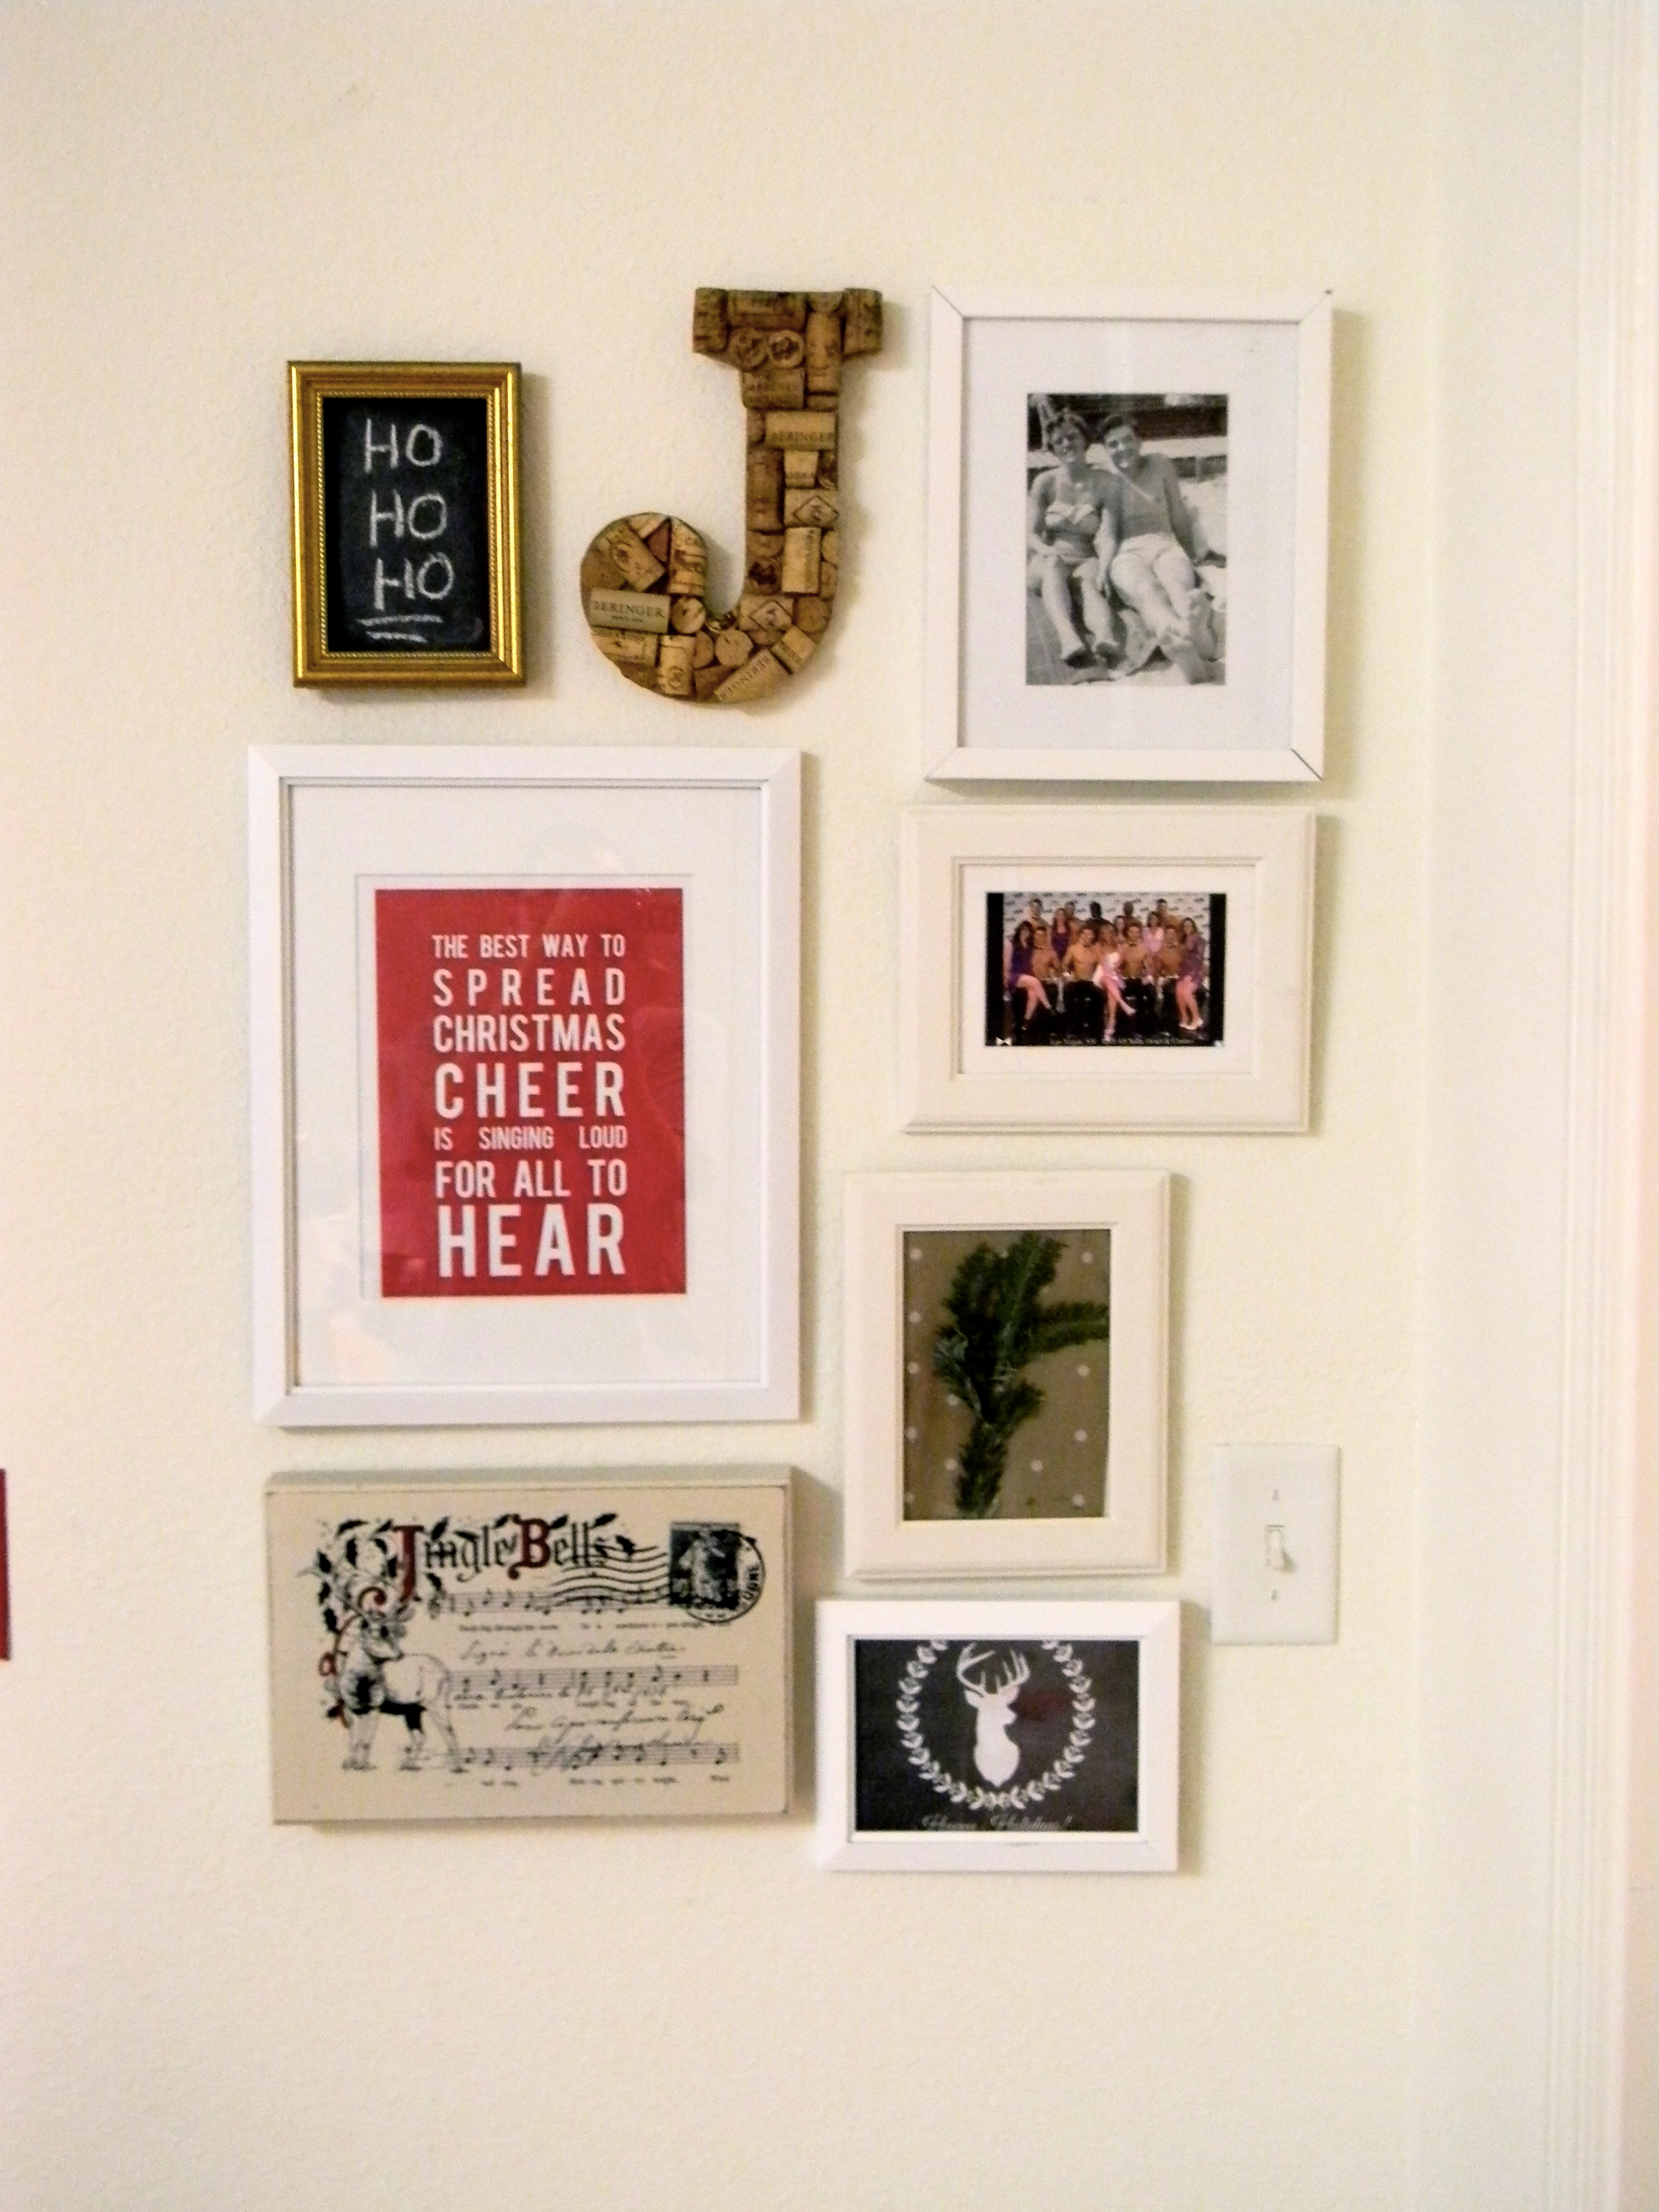
Vintage music sheets are also very in, but why waste money on buying actual vintage music sheets? I printed mine out using this template. TIP: To make this look extra vintage, take a spray bottle, damp the paper with water, gently crumple it up in a ball, open the crumpled paper and lay flat on the floor, cover with a hand towel and iron the paper to flatten – Let dry and you have vintage paper. I sprayed mine with glitter spray to give it an extra pop for the holidays.

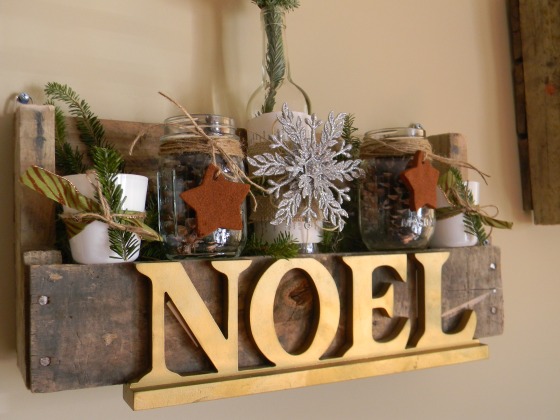
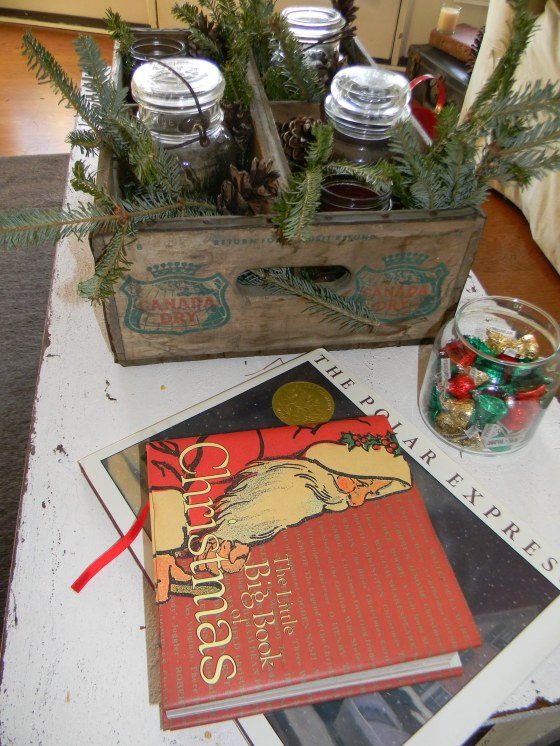
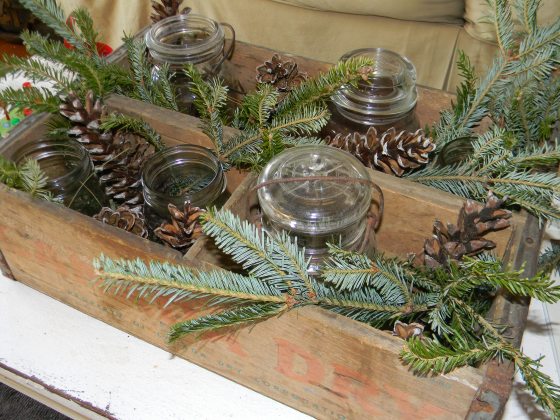
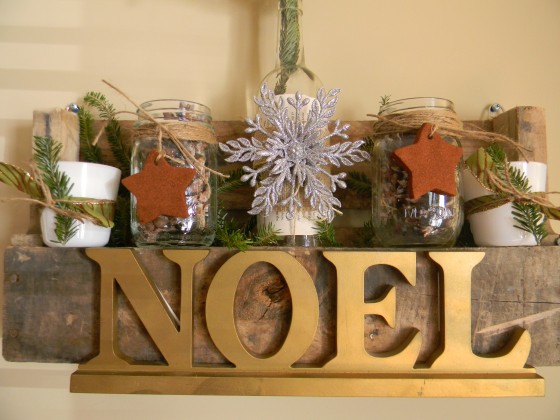
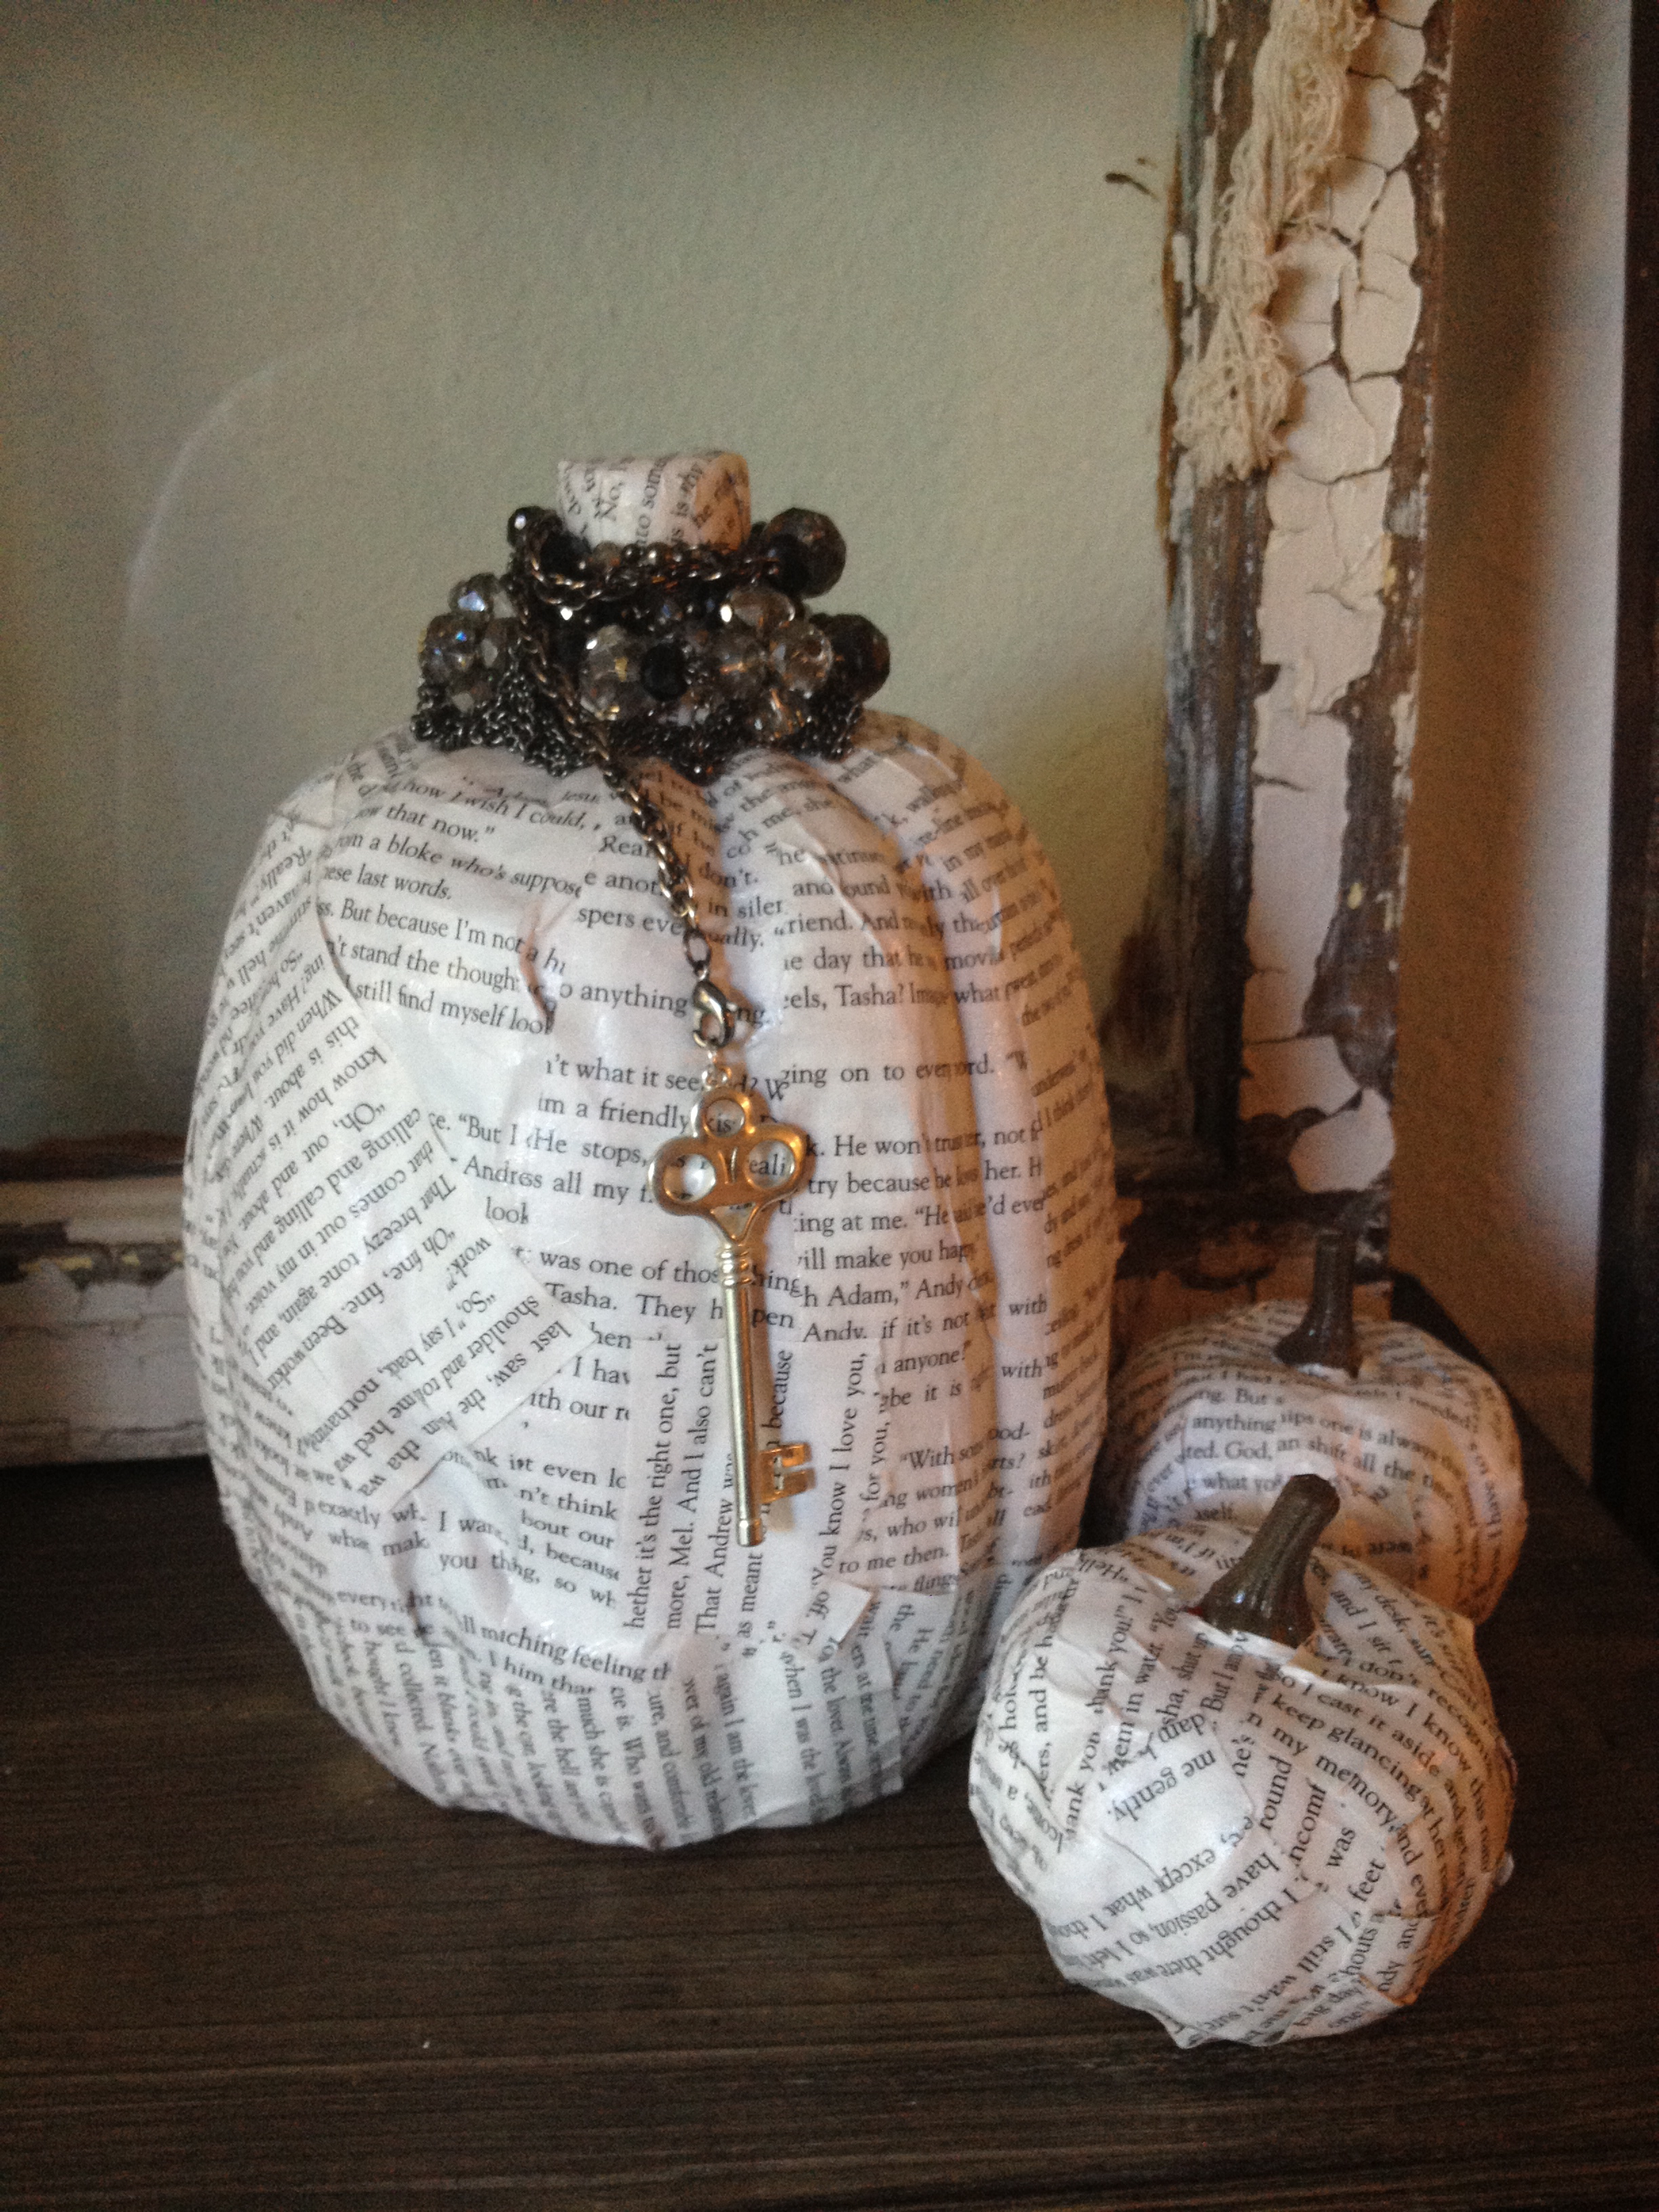
For the most part I just reused jars, wrapped them with old book pages, the music sheets, tree trim and OF COURSE burlap. I hope you find these ideas inspiring, they are so easy and CHEAP to make.

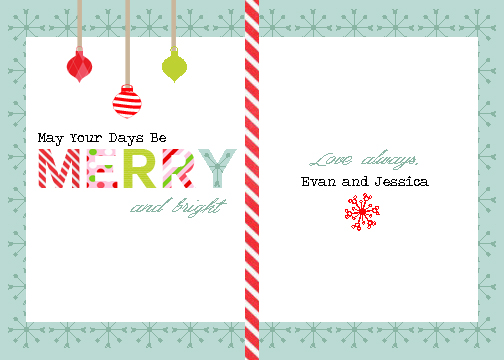
We still need our tree and I need to making the stockings but…….. without further adieu, from our home to yours, love Jess and Evan (even though it’s mostly just me) haha

p.s – Can you find the “Hidden Mickey” I designed into our Holiday Card?

441

514

512

508

506

503

497

496

495

494

488

478

475

468

459

453

448

Christmas_EJ

Merrry_and_Bright

Penny Pincher Cinnamon Ornaments

I give a lot of thanks to my mom for all of my crafting inspirations. My mom has been a nursery school teacher for over 30 years and growing up I always had an art set and fun new ideas to explore. Whenever I needed anything crafty I knew my mom could go into her boxes of school supplies and lend a hand. She is amazing at what she does and I look up to her very much. One craft I can remember her making with the kids from school growing up are cinnamon ornaments. She of course made them with me and well and I can still remember the ornaments smelling year after year as we put them on the tree.

This year I really wanted all my decorating to be vintage chic. When I stumbled on the cinnamon ornaments on Pinterest I immediately thought of my mom and making them while growing up. The look of the ornament is also very rustic and went perfectly with my theme. The recipe I used was my mom’s but it SUPER simple. Here’s what you’ll need:

  • 4oz Ground Cinnamon (about 2 small bottles)
  • 3/4cup-1cup apple sauce
  • A Drinking Straw
  • Cookie Cutters
  • Twine and Burlap(optional)

Big shout out to my friend Jes on providing the wine and helping me make these, and a huge shout out to ABC Family Home Alone Weekend for providing the background entertainment, (it made for a fun Friday night)

  1. Preheat oven to 200°F.
  2. Mix applesauce and cinnamon in small bowl until a smooth ball of dough is formed.
  3. Roll dough to 1/4-inch to 1/3-inch thickness between two sheets of plastic wrap. Peel off top sheet of plastic wrap.
  4. Cut dough into desired shapes with cookie cutters.
  5. Using a standard drinking straw, make a hole at top of ornament
  6. Place ornaments on baking sheet and bake in oven for 2 1/2 hours.
  7. Cool ornaments over night on wire rack.
  8. String with twine or ribbon and enjoy.

Once my ornaments we done, I strung them with twine and burlap. I actually utilized them not only as tree ornaments but as decorations for some vases I made. For the vases I used old brandy containers and soaked them in hot soapy water to peel the labels off. I wrapped page from an old book I had around the vase using Mod Podge and then applied a small strip of burlap using the glue gun. The hung the ornament around the neck and stuck in tree trimmings.

**GREAT TIP – when you cut down your tree, or at any place that cuts fresh trees, you can pick up all the trimmings for FREE. I found this out when I went to ask the people who worked there how much it would cost to take them and they said, “NOTHING, take them!” It was a great feeling!! The old free book, each ornament cost me 4 cents, I re-used the bottles, free tree trimmings and old scraps of burlap and twine, the whole project cost me less that 5 cents. WHAT A STEAL!

This is just the start of my holiday decorating – my scrooge boyfriend is convinced we need to wait until December first, we’ll see.


20121127-082448.jpg