Shabby Chic Inspiration Board

DSCN5397

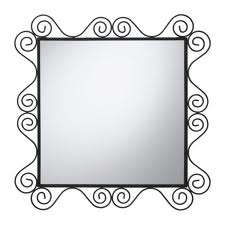
A while back when I was moving into my apartment, my clumsy self stepped right on top of my Ikea mirror(pictured below).  Shattered glass EVERYWHERE and of course the devastating realization of 7 years bad luck. (yes, I am superstitious)

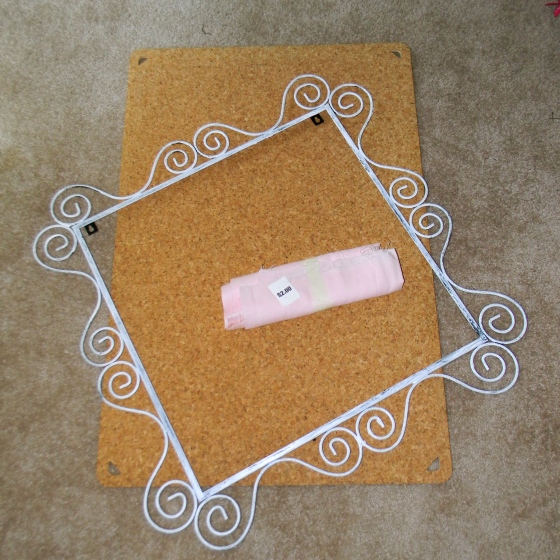
I really enjoyed the frame and thought it fit in with the shabby chic theme of my bedroom (which I will post about soon) so I painted the black metal with a rough coat of white paint.

Unknown

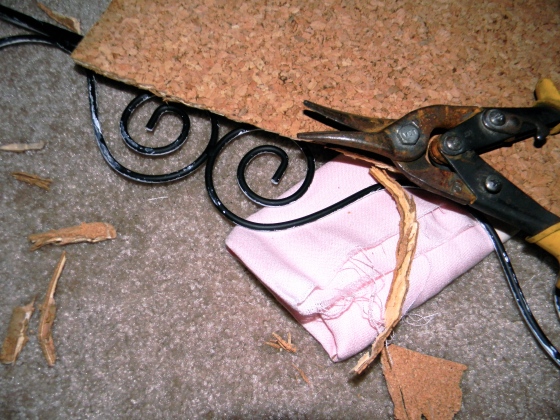
The frame sat in my room for a while on the floor looking kind of sad when an idea struck me while I was at a tag sale.  I found a cork board for a buck and some pink fabric to cover it for 2 dollars.  I cut the cork to fit into the frame with some heavy duty clippers and then covered the cork board with the cloth by stapling and hot gluing it on.

DSCN5262

DSCN5268

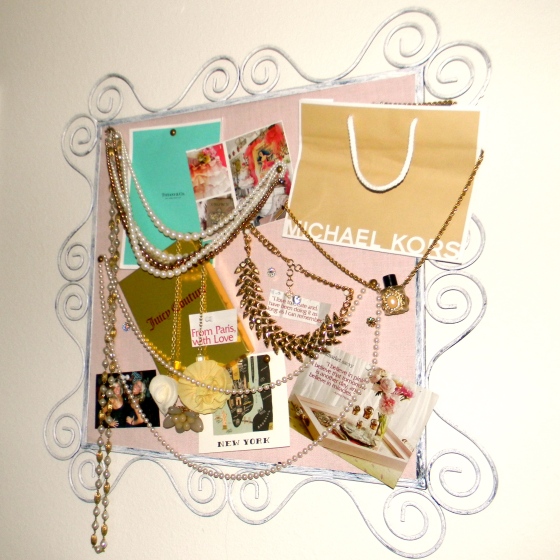
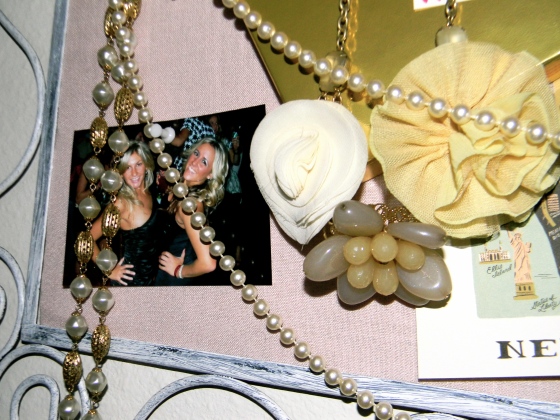
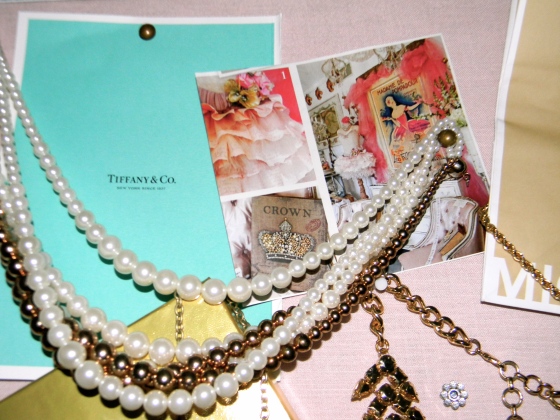
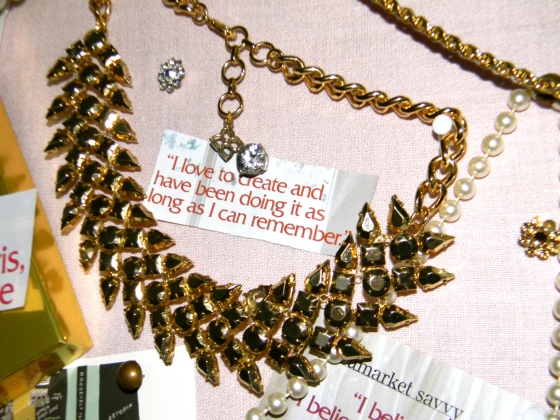
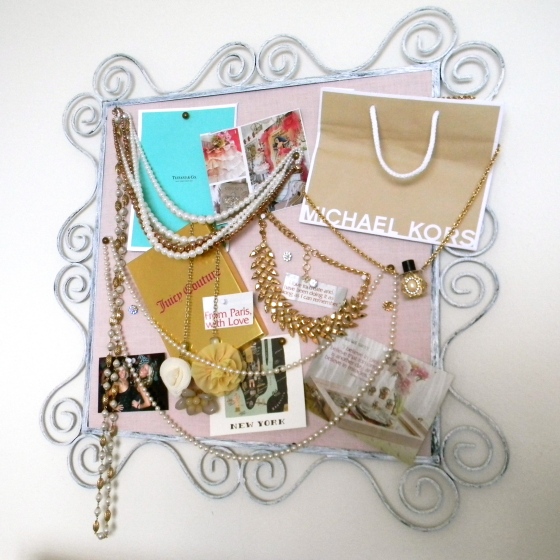
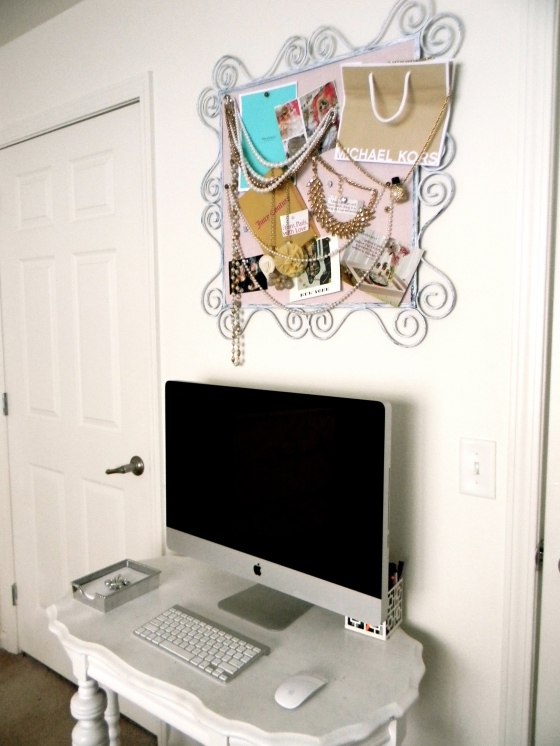
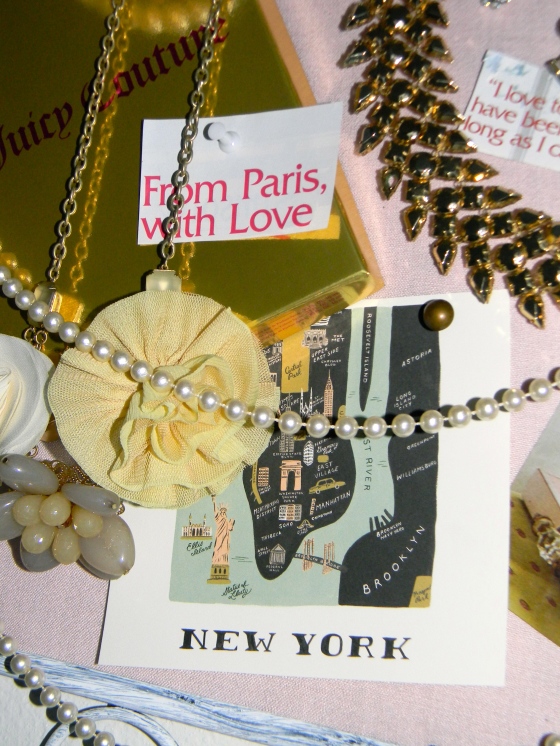
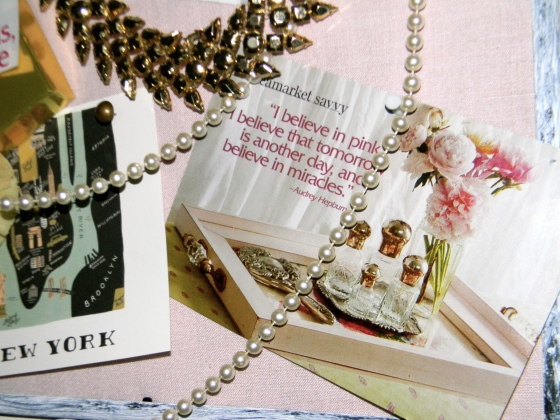
Once the cork was in place I started pinning everything on like a real life Shabby Chic Pinterest Board!  Can you follow my Shabby Chic Pinterest Board here.

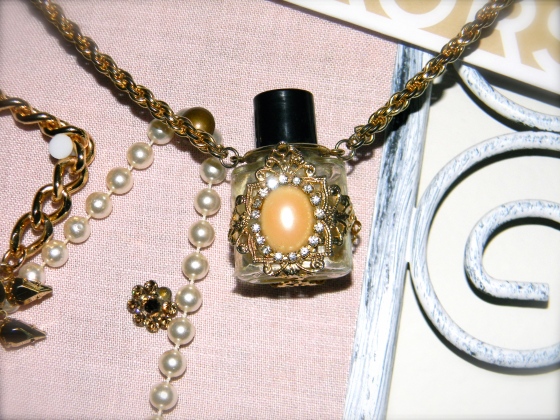
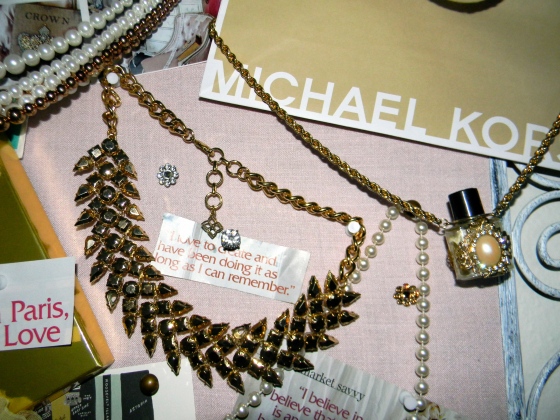
I LOVE Romantic Country Magazine as an inspiration for all my decor, so I clipped some images from there.  I also included a lot of my old vintage jewelry that I picked up at flea markets and tag sales.  My favorite is the perfume bottle necklace – FOUR DOLLARS for this gem – completely obsessed with it.

DSCN5396 DSCN5392 DSCN5386 DSCN5391 DSCN5400 DSCN5384 DSCN5401 DSCN5383 DSCN5382

Stay Fancy

-Jess

DIY Mardi Gras Statement Necklace

Instagram.  My boredom past time is slowly becoming my go-to in social media. Recently I came across a picture posted by the style blogger of Atlantic Pacific.  I honestly love everything outfit or accessory that this girl puts together (huge fan) but one of her latest pictures was a necklace from Fenton Fallon picture below:

Fenton Fallon Necklace


How AWESOME is that!? A great, colorful summer piece.  After looking through the Fenton Fallon website I fell in LOVE with everything.  It wasn’t until a few weeks later when I was visiting my parent’s house that this gem caught my eye:

Yes, it’s true, my parents went to Mardi Gras – they are pretty cool, and NO I didn’t ask them how they got the beads and frankly, I have no intention on asking either.

Image

Anyways, when seeing this I immediately thought of the wonderful beautiful Fenton Fallon necklace and thought – “HEY, I can make that!”  So that is precisely what I did. Here’s how.

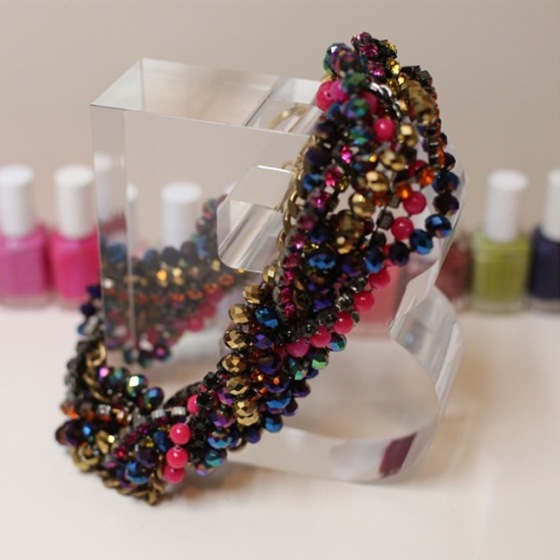
DIY Mardi Gras Bead Braided Necklace

First, I took an array of all different color necklaces.

I then cut the necklaces to form long strands tying the top together with a piece of small ribbon.

I then taped the top of he strands to the table and spilt the beads up into three equal sections. The next step is to begin braiding the three strands together.

Once the braid came close to the end of the strands I then tied it together using the small ribbon again.

Lastly, I tied a thicker ribbon to each end of the braid so I could tie the necklace together around my neck.

And there you have it! – Simple quick and FREE!!!

Pop*

A while back I came across a really cool YouTube tutorial on how to make a bracelet out of soda can tabs.

After watching the video and playing around on my own, I decided to put my own twist on things.  I also decided to spray paint my soda tabs a metallic gold to give it that extra “pop”.

Here’s what you’ll need:

  • 15-25 tabs from a soda can
  • Metallic gold spray paint
  • 2 feet of ribbon
  • Scissors

First I started off by spraying both sides of the tabs.  I used a metallic gold but I think next time I want to try a bright blue with maybe a gold ribbon. You don’t HAVE to do this step, it just makes the bracelet look a little more fun.

Next, I cut 2 one foot strands of ribbon.  I put clear nail polish on the ends of the ribbon so they did not fray.

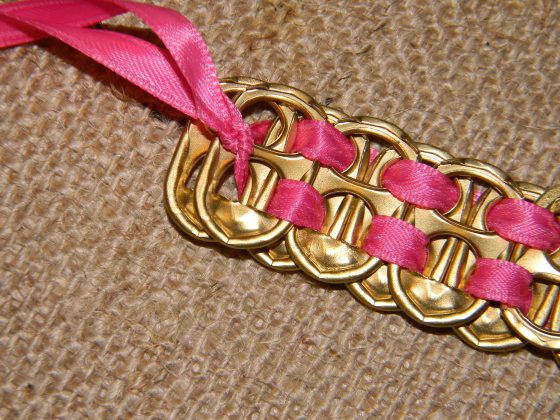
Each strand of ribbon goes through one of the holes within the tab.  The first tab I put on, I laced the ribbon through the top side of the tab and pushed it to the middle (the top being the smooth part of the tab and the bottom being the bumpy part)

The second tab I put on, I laced the ribbon through the bottom part and again pushed to the middle. **Note I laced from the left side when starting

The third tab I put on I laced it through from the right side through the top of the tab.  I then laced the ribbon through the top part of the tab under it (the now middle tab).  This is your starter.

  Once you have your starter you can now alternate from left to right adding on the tabs.  For the tabs that go on the top row, you want to enter the ribbon through the top of the tab and then lace it through the previous one to keep them together. Bottom row tabs, enter the lace through the bottom.

As you can see here, this tab is going to be on the top so I laced it through the top of the tab.  After this is on you thread the ribbon through the bottom tab.  Keep this process up until you reach the desired length you want.

Once finished double knot the ends under the bracelet.

Tie in a bow to wear.

I also included my instagram pic on the finished bracelet.  Feel free to follow me on Instagram @jstant719!

What do you think?  What other colors would you suggest that would really make the bracelet POP*?

Cheers – J

Braided Tee

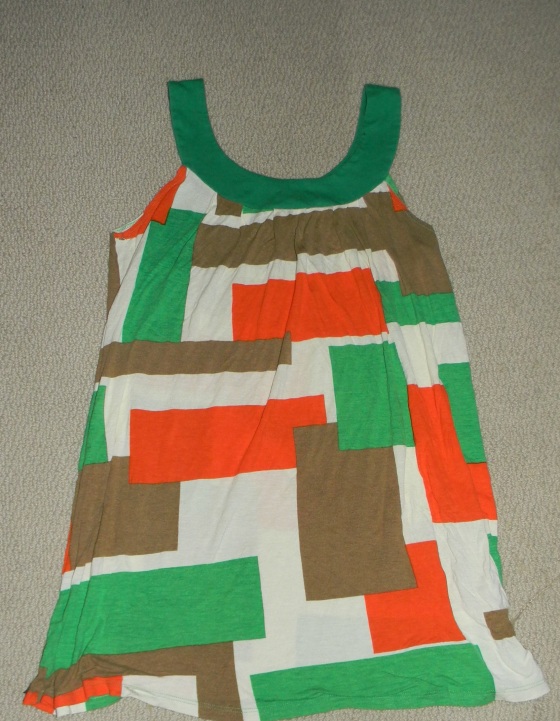
When you move, you find out you have a lot of junk.  I moved about 2 months ago and sadly enough, I am STILL unpacking bags of clothes.  Last weekend I came across an ugly bathing suit cover-up that I will probably never wear again.  The colors in the dress were pretty cool and worth saving so being the semi-hoarder that I am, DIY came to mind.

Here is my ugly dress:

 I first cut the dress length wise along the seam on the side of the dress to create about a 5 foot length of material.

I then cut the material length wise at about a width of 2 inches and ended up with three 2in x 5ft strips.  I then used some extra material to tie the three pieces together leaving about 3 inches of material at the top.

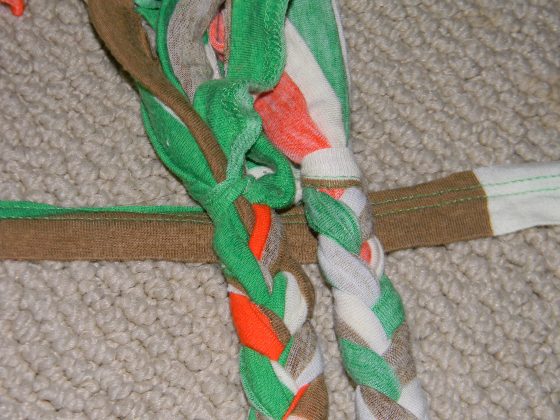
I then simply started braiding the 3 pieces until the braid was about 2 feet long.  After you finish braiding, again, you will take an extra piece of fabric to tie the end.  Once the entire braid is complete, tie the two ends together. (I double knotted to be safe)

After tying the ends together, cut down the remaing fabric on the ends to resemble a small flower and enjoy!  It was super simple and a great statement necklace to dress up any plain Tee.

Enjoy – J

Creme De La Cheap

One of my absolute favorite things to do is finding something interesting, whether it be fashion, home decor or beauty, and figuring out how I can make it myself for a fraction of the price. You will see this a lot throughout my posts.  One of my favorite fashion blogs to check out is Atlantic-Pacific.  When I came across this post I immediately fell in love with this sweatshirt from Zoe Karssen.  I also noticed it was a whooping $160. That’s when the famous words hit me: “I Can Make That” 

After searching though retail websites, I could not pass up on finding a similar grey light sweatshirt on walmart.com. You get 2 sweatshirts for 10 dollars. FIVE BUCKS A SHIRT and .97 CENTS TO SHIP TO HOME! What a steal!

The most inexpensive letters I found were at Joann Fabrics.  There were various sites that offered a promo code for either 15% off the entire purchase or 40% off a single item. You can find them by simply searching for “Joann Fabrics Promo Codes” in any search engine. I got 2 packs of letters, used the promo code and thankfully a gift card I received for my birthday 🙂

I cut each letter and placed it on the shirt before ironing on, then I followed the instructions on the package.

The letters have stayed on through multiple washes and it came out great! Here is my final “Creme De La Cheap” DIY version.  Have you ever made knock off versions of clothing?  What are your style inspirations?

Cheers – J

<a href=”http://www.bloglovin.com/blog/3905411/?claim=5vhjrmche84″>Follow my blog with Bloglovin</a>